
CEO of PostOwl
PostOwl - Schedule Posts & Train AI for X/Twitter
Welcome to PostOwl, the intelligent social media management tool designed to streamline your social media activities and boost your engagement. PostOwl utilizes advanced AI models to automate content creation, scheduling, and interaction, allowing you to focus on strategic initiatives and connect with your audience more effectively. This introduction will provide an overview of PostOwl's key features and benefits, setting the stage for more detailed explanations in the subsequent sections.
PostOwl enables you to:
- Automate Content Creation: Generate high-quality posts and responses using AI models tailored to your / your brand voice.
- Quickly reply: Generate high-quality replies with the help of Chrome Extension, right from your X account.
- Manage Multiple Accounts: Seamlessly handle multiple social media profiles from a single, unified dashboard.
- Schedule Posts: Plan and schedule your content calendar in advance, ensuring consistent engagement.
Let's get started and explore how PostOwl can transform your social media management experience!
Training a Reply/Post Model
AI models are at the heart of PostOwl, enabling you to generate engaging and relevant content with ease. Training a Reply/Post model involves configuring the model with specific instructions and examples to guide its behavior. This section will walk you through the process of training a Reply/Post model in PostOwl.
-
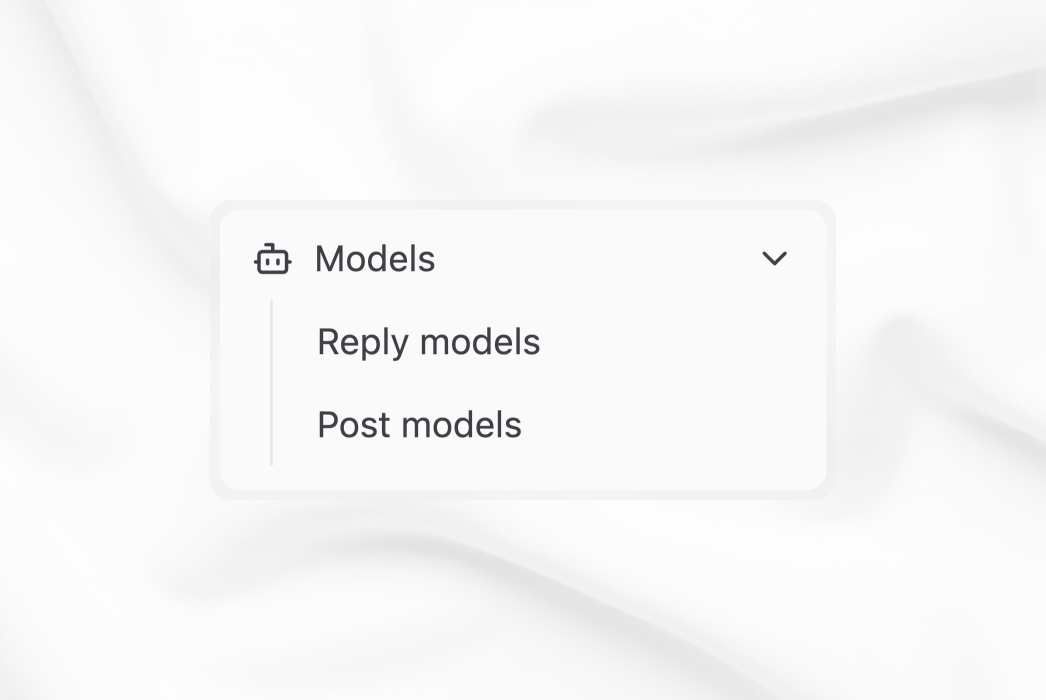
Navigate to Models:
- From the main dashboard, click on the "Models" option in the left-hand navigation menu.
- From the main dashboard, click on the "Models" option in the left-hand navigation menu.
-
Select Reply/Post Models:
- In the "Models" section, select whether you want to train a "Reply Models" or "Post Models" depending on your content generation needs.
-
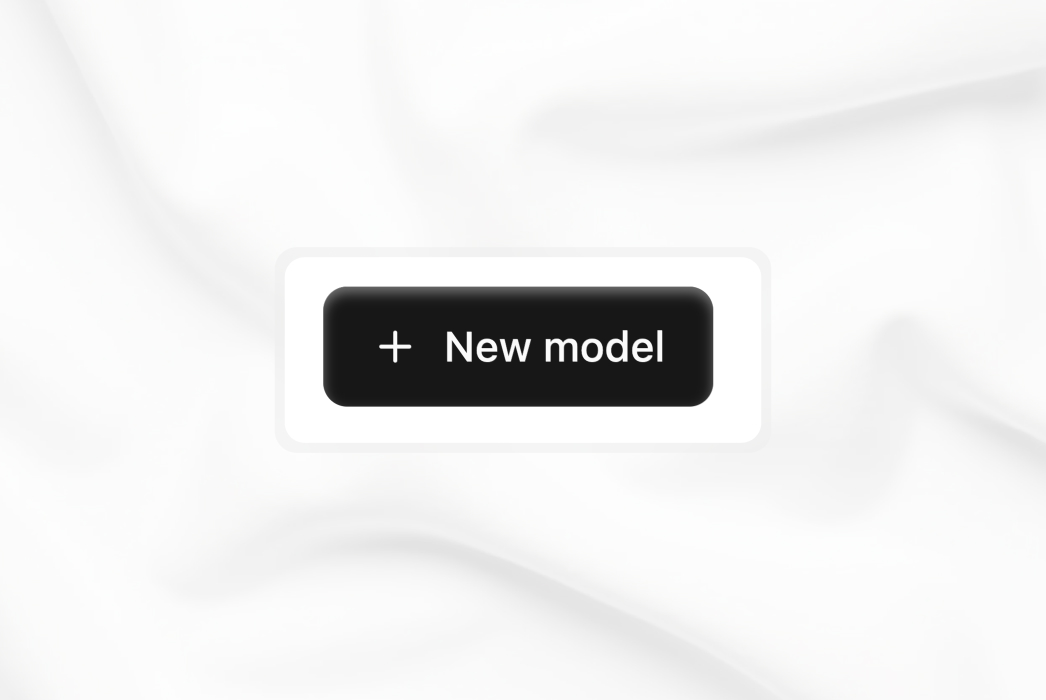
Create New Model:
- Click on the "+ New Model" button to create a new AI model. This will open a form where you can configure the model's settings and training data.
- Click on the "+ New Model" button to create a new AI model. This will open a form where you can configure the model's settings and training data.
-
PostOwl Model Name:
- Enter a descriptive name for your AI model in the "PostOwl Model Name" field.
- This name will help you identify the model later when using it for content generation.
- Example: "Funny reply bot"
-
Instructions:
- Provide clear and concise instructions to guide the model’s behavior in the "Instructions" field.
- These instructions should specify the type of content the model should generate and the desired tone and style.
- Example:
I aim to share useful insights about web development and technology while keeping things approachable and engaging. - Sometimes throw in a joke or two - Replies must ALWAYS stay under 150 characters with casual English - Use slang (yea/nope/btw) but avoid emojis/hashtags - End 30% of replies with brief questions to boost engagement -
Examples:
- Add example posts and replies that you like.
- Adding various examples allow your PostOwl to better train towards what type of responses are considered appropriate.
-
Keywords:
- Associate keywords or topics with the PostOwl model.
- Adding keywords or topics allow your PostOwl model to better filter Tweets that it can make responses.
-
Training:
- Click on the "Start Training" button to begin training your new AI model.
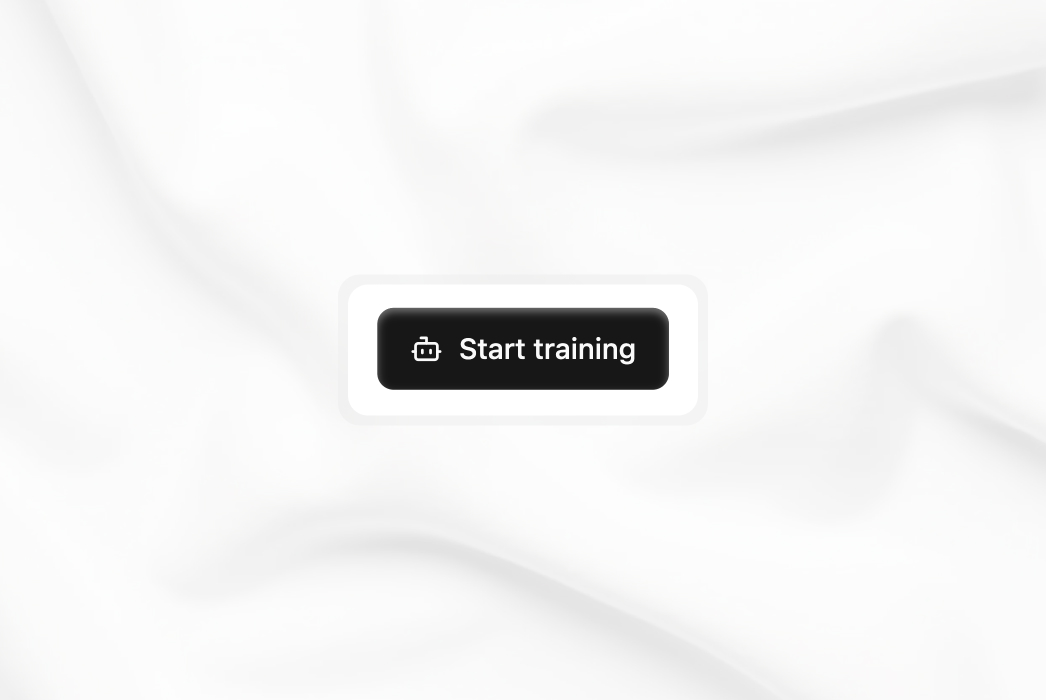
- The training process may take some time depending on the complexity of the instructions and the amount of training data provided.
- Follow the instructions given in the training window
- Click on the "Start Training" button to begin training your new AI model.
-
Testing:
- Give your new model a try after training under Testing tab.
- Set you new model as Active under the training or from the Left side menu, by finding the model.
- After your model has been trained, you can come back later and train it further.
The Reply model can only be used in X/Twitter, when it is set as Active
Integration with X/Twitter
Integrating PostOwl with your X/Twitter account allows you to seamlessly manage and automate your X/Twitter presence. This integration enables you to schedule tweets or post them directly from PostOwl dashboard, and leverage AI models to enhance your content strategy. Follow the steps below to connect your X/Twitter account to PostOwl.
This is not required when you are planning to use only our extension and not schedule & post via our dashboard.
-
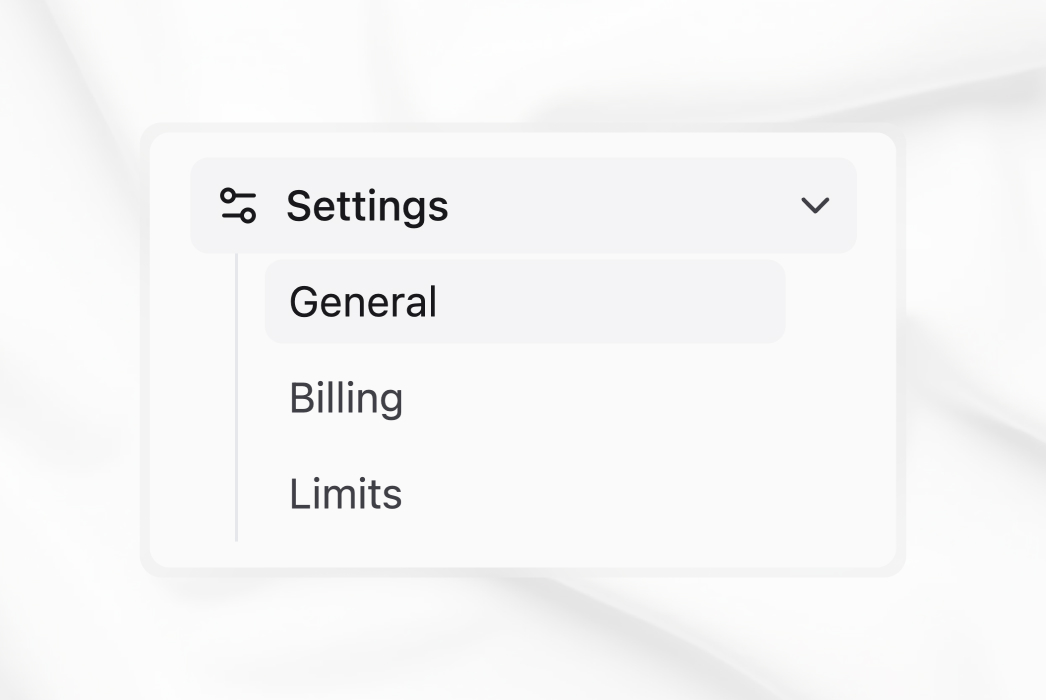
Navigate to Settings:
- From the main dashboard, click on the "Settings" option in the left-hand navigation menu.
-
Select General:
- Under "Settings", click on "General" to access the general settings page.
- Under "Settings", click on "General" to access the general settings page.
-
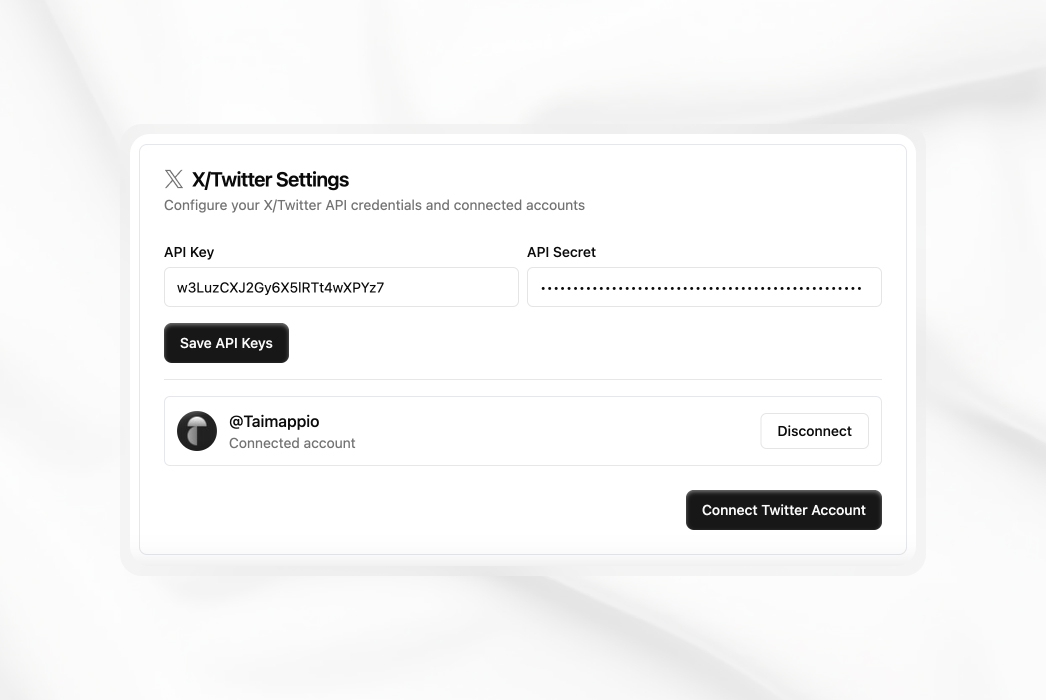
X/Twitter Settings:
- Locate the "X/Twitter Settings" section on the general settings page. This section is dedicated to configuring your X/Twitter API credentials and connected accounts.
- Locate the "X/Twitter Settings" section on the general settings page. This section is dedicated to configuring your X/Twitter API credentials and connected accounts.
-
Create X/Twitter Developer App (if needed):
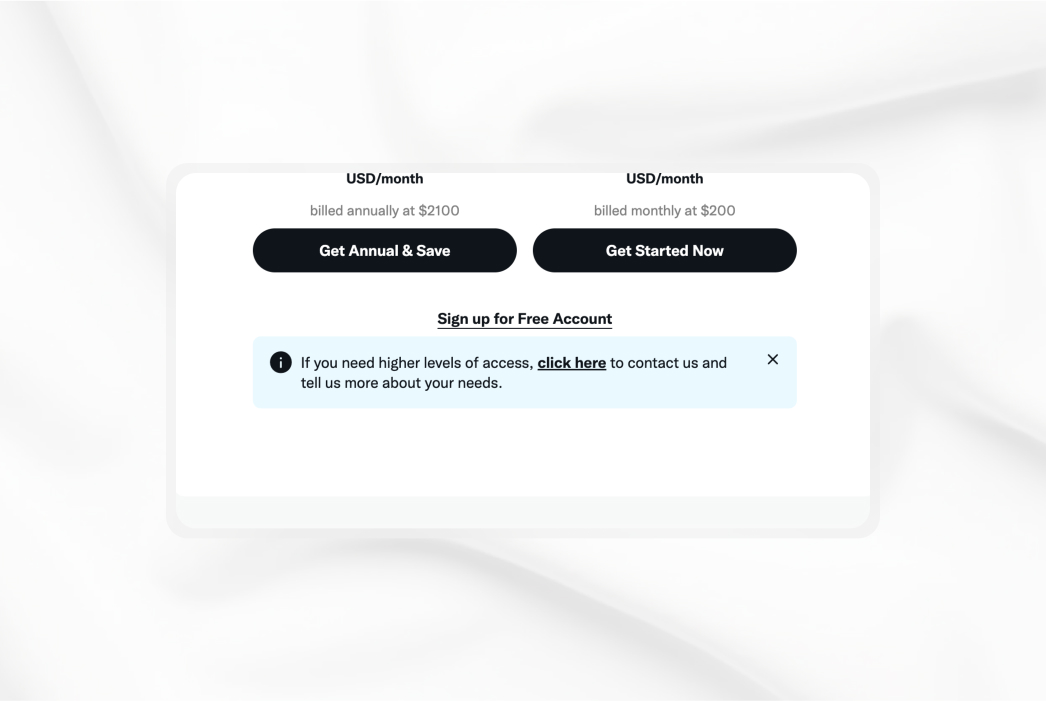
- If you do not already have X/Twitter API keys, you need to create a developer account on the X/Twitter Developer Portal (https://developer.twitter.com/).
- Follow the instructions on the X/Twitter Developer Portal to create a new app and generate your API keys.
- The Free Tier API should work for most of users.
-
Describe Use-Cases:
- When applying for developer access, you will be required to provide a detailed description of your use case for the X/Twitter API.
- Be specific about how you intend to use the API for PostOwl.
- Example:
I will be using Twitter's API to Schedule some of my pre-written posts. I plan to schedule about 3-10 posts a week which I’ve previously written. I will be using the API for personal use and not for any kind of client's projects. I will be connecting maximum of 2 accounts. -
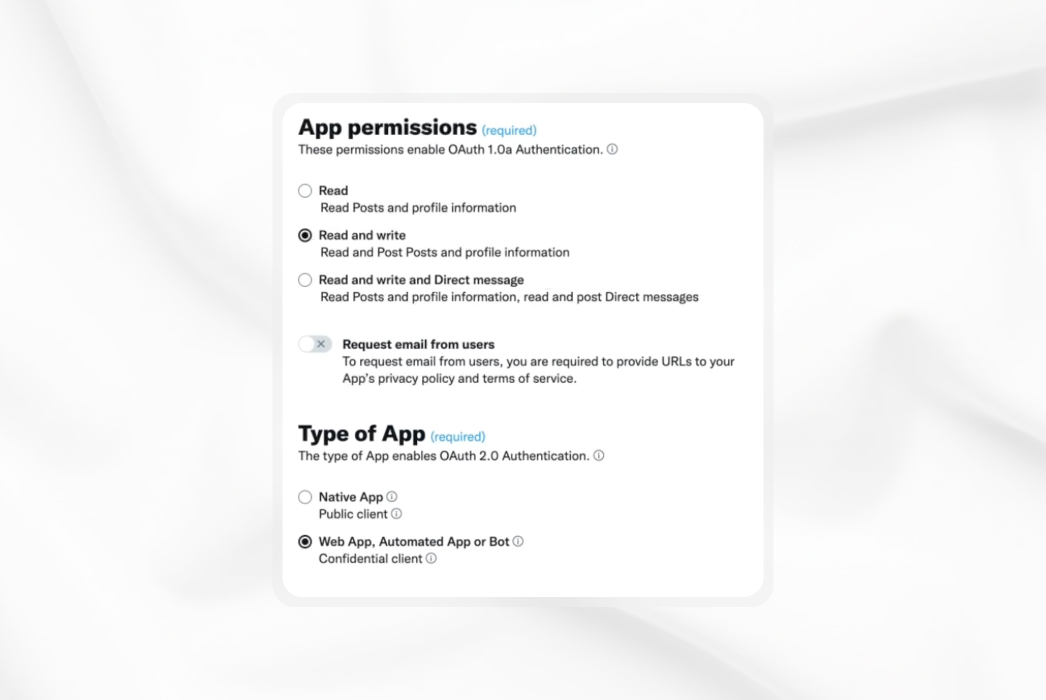
App Permissions:
- From the app dashboard go to App settings -> User Authentication Settings -> Set Up.
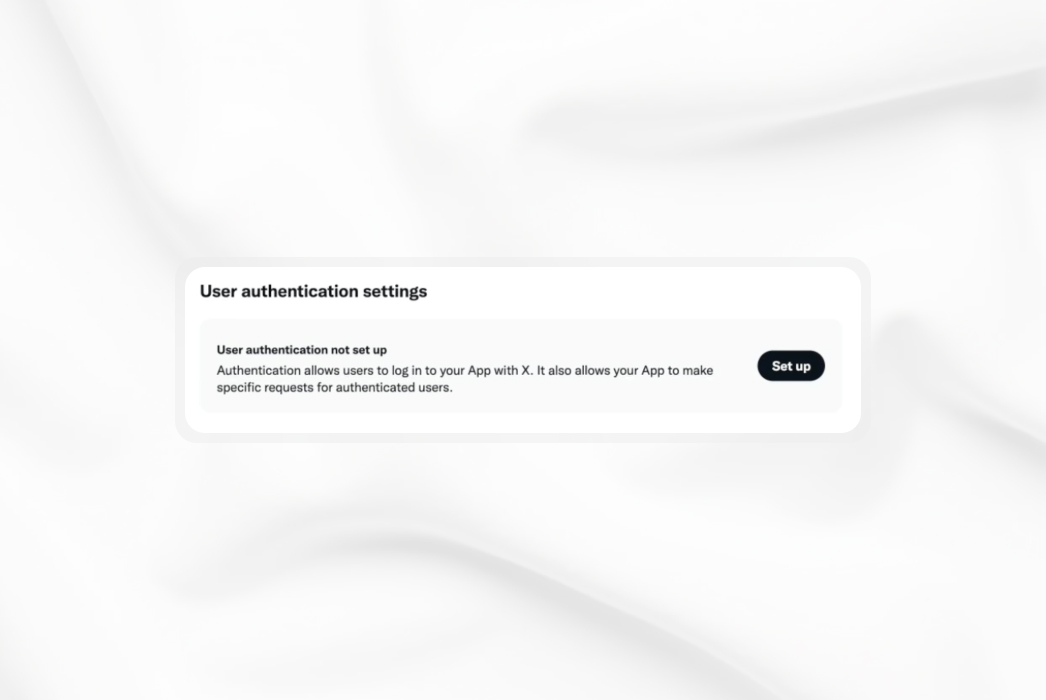
- Make sure that under App permissions you have Read and Write is set. Also Web App, Automated App or Bot must be selected.
- From the app dashboard go to App settings -> User Authentication Settings -> Set Up.
-
App Info:
- In the app details section, you will need to configure the necessary URLs. Ensure you configure the following app details:
- Callback URL / Redirect URL:
https://postowl.io/api/twitter/connect/ - Website URL:
https://postowl.io/
- Callback URL / Redirect URL:
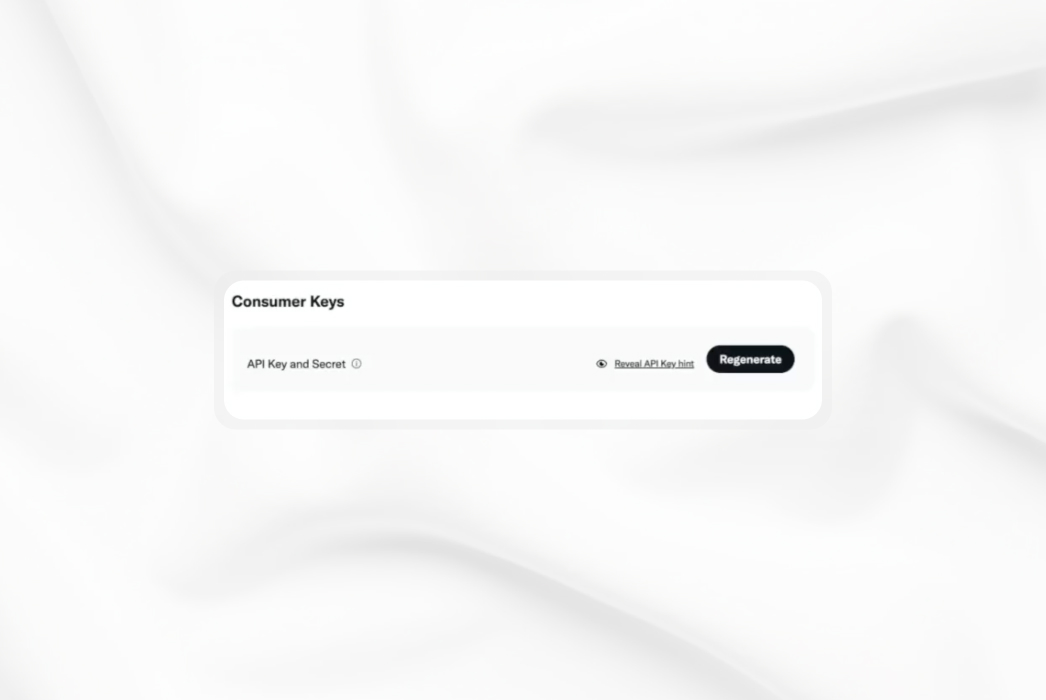
- Hit save and go to your project keys, where you will find Consumer Keys
- In the app details section, you will need to configure the necessary URLs. Ensure you configure the following app details:
-
Enter API Keys:
- Once you have obtained your API Key and API Secret from the X/Twitter Developer Portal, return to the "X/Twitter Settings" section in PostOwl.
- Enter the "API Key" and "API Secret" in the respective fields.
-
Save API Keys:
- Click the "Save API Keys" button to store your X/Twitter API credentials in PostOwl.
- A success message should appear, confirming that your API keys have been saved successfully.
- Click the "Save API Keys" button to store your X/Twitter API credentials in PostOwl.
-
Authorization:
- When you connect your Twitter account via PostOwl, it will ask you to authorize an app, simply confirm this.
- You can also reconnect to this app at any time.
-
Manage Connected Accounts:
- After successfully saving your API keys, you will see your connected X/Twitter account listed in the "X/Twitter Settings" section.
- You can disconnect your account at any time by clicking the "Disconnect" button next to the account.
Scheduling a Post and Editing
PostOwl allows you to plan and schedule your social media content in advance, ensuring a consistent and engaging online presence. You can also edit your content to add images, create the correct prompt, and schedule a time to post your material. Follow the steps below to learn how to schedule and edit posts.
-
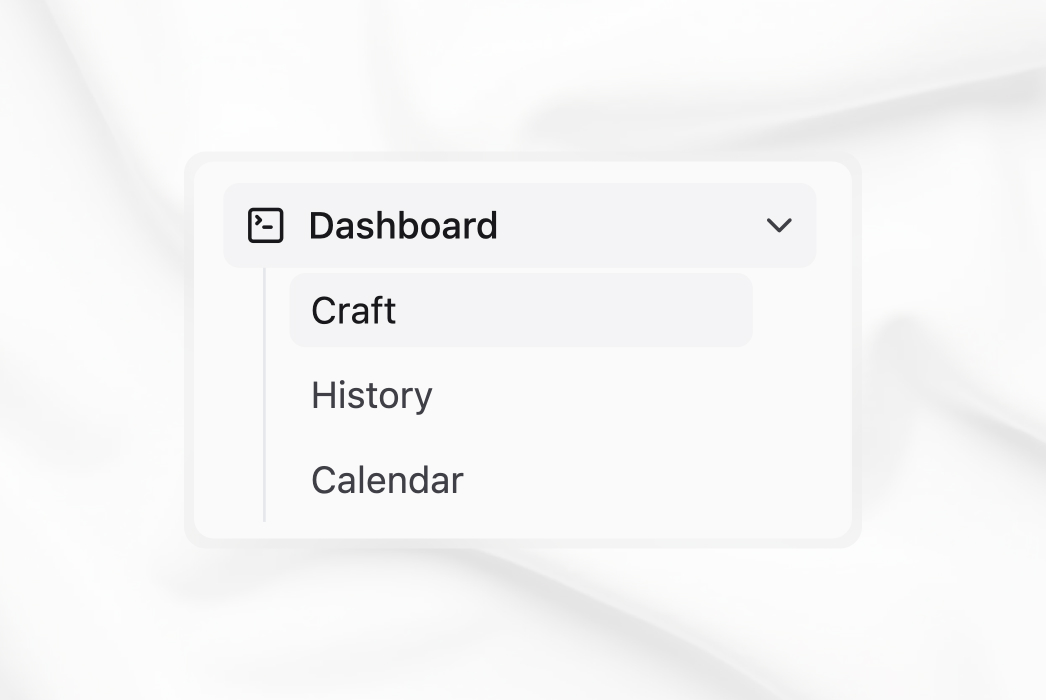
Navigate to Craft:
- From the main dashboard, click on the "Craft" option in the left-hand navigation menu.
- From the main dashboard, click on the "Craft" option in the left-hand navigation menu.
-
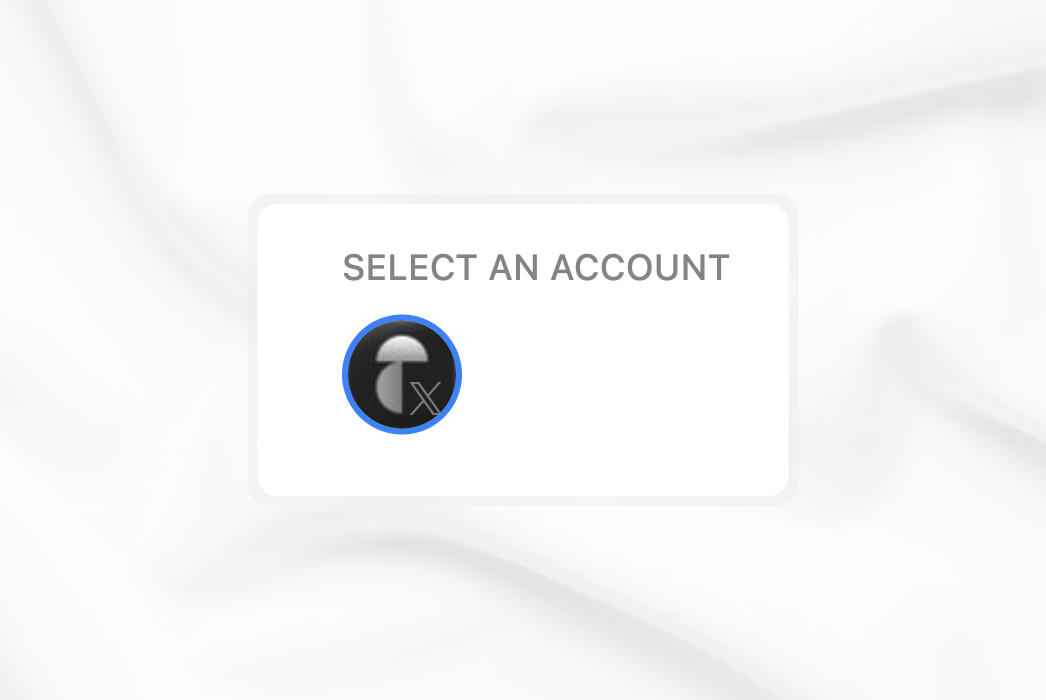
Create New Post:
- Select the connected social media account, such as X/Twitter, to create your new post.
- Select the connected social media account, such as X/Twitter, to create your new post.
-
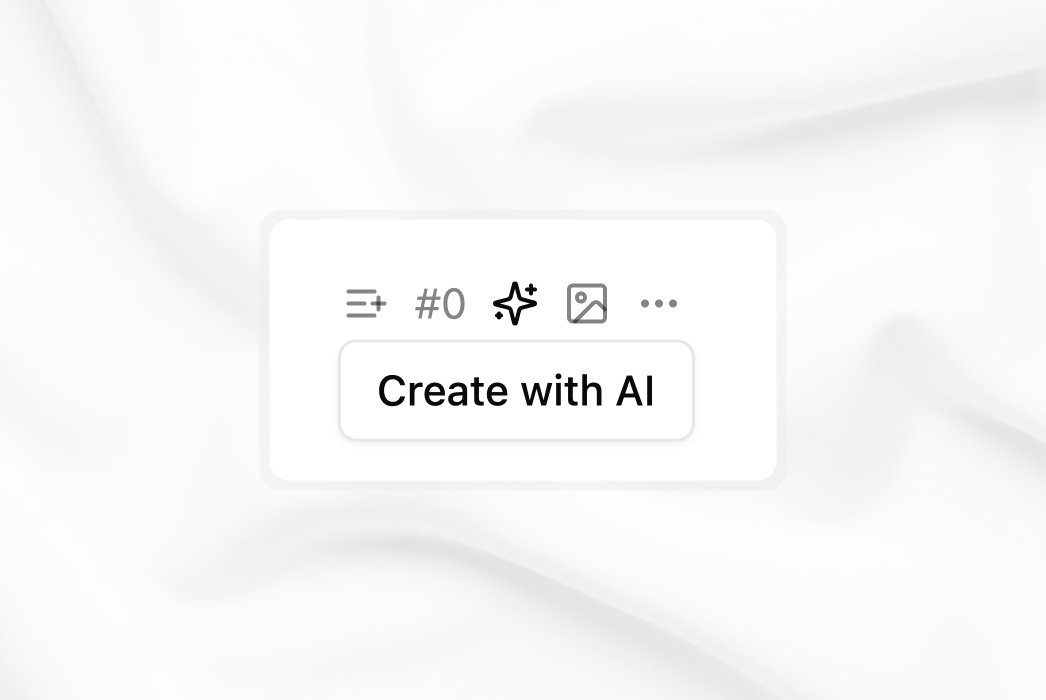
Add Post Details:
- Create your new post, including the text content you want to share with your audience.
- If you've trained a Post model, you can also use the Post model to create a tweet for you, by selecting a specific model and giving it a prompt.
-
Add New Image:
- If you want to include an image in your post, click on the image icon to upload or select an image from your library.

- If you want to include an image in your post, click on the image icon to upload or select an image from your library.
-
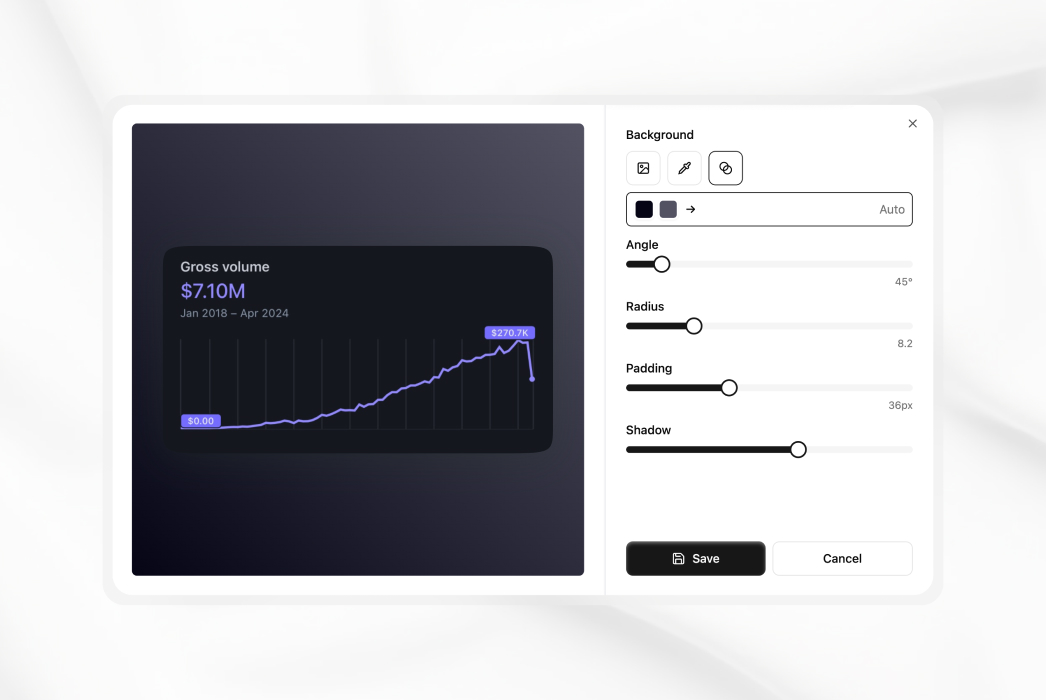
Edit Image:
- PostOwl provides built-in image manipulation tools to enhance your visuals before posting. These tools allow for adjustments such as:
- Background: Choose a new background color.
- Angle: Angle the background.
- Radius: Add radius to background.
- Padding: Add padding.
- Shadow: Increase shadow.
- Use these tools to optimize your image and make it visually appealing.
- PostOwl provides built-in image manipulation tools to enhance your visuals before posting. These tools allow for adjustments such as:
-
Schedule Post:
- Click on the "Schedule" button to schedule your post for a future date and time.
- A dialog box will appear, allowing you to specify the desired posting date and time.
- PostOwl accepts natural language as date. You may specify
in 12minutesortomorrow at 5pmor19 July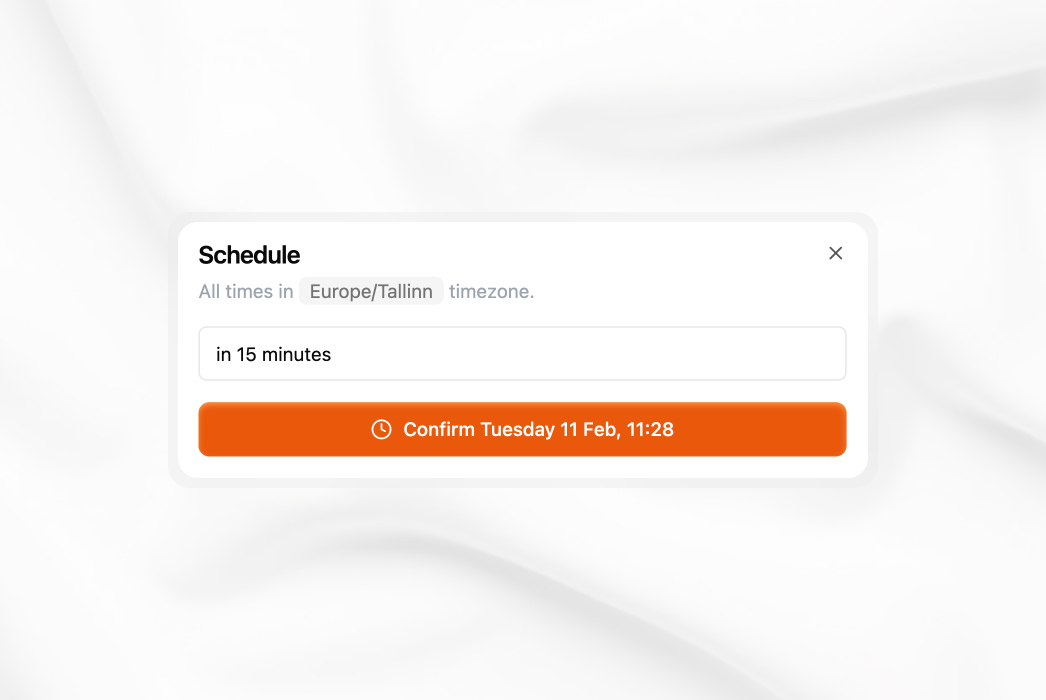
- PostOwl accepts natural language as date. You may specify
-
Posting the Tweet: Click on "Accept Date" or "Post now" to schedule / post the tweet.

Shortcuts & Usability
PostOwl also has couple of shorcuts to make the post adding a bit easier
- New post: Press
⌘ + ↵(Mac) orCtrl + ↵(Windows/Linux) to quickly add another tweet below the existing one. - Accept Post: Press
⌘ + ↵(Mac) orCtrl + ↵(Windows/Linux) to accept a post, when Post model has generated a tweet. - Regenerate: Press
⌘ + R(Mac) orCtrl + R(Windows/Linux) to Regenerate a post, which you've generated with AI Post model. - Move tweet: Press
⌘ + ↑/↓(Mac) orCtrl + ↑/↓(Windows/Linux) to move the current tweet up or down.